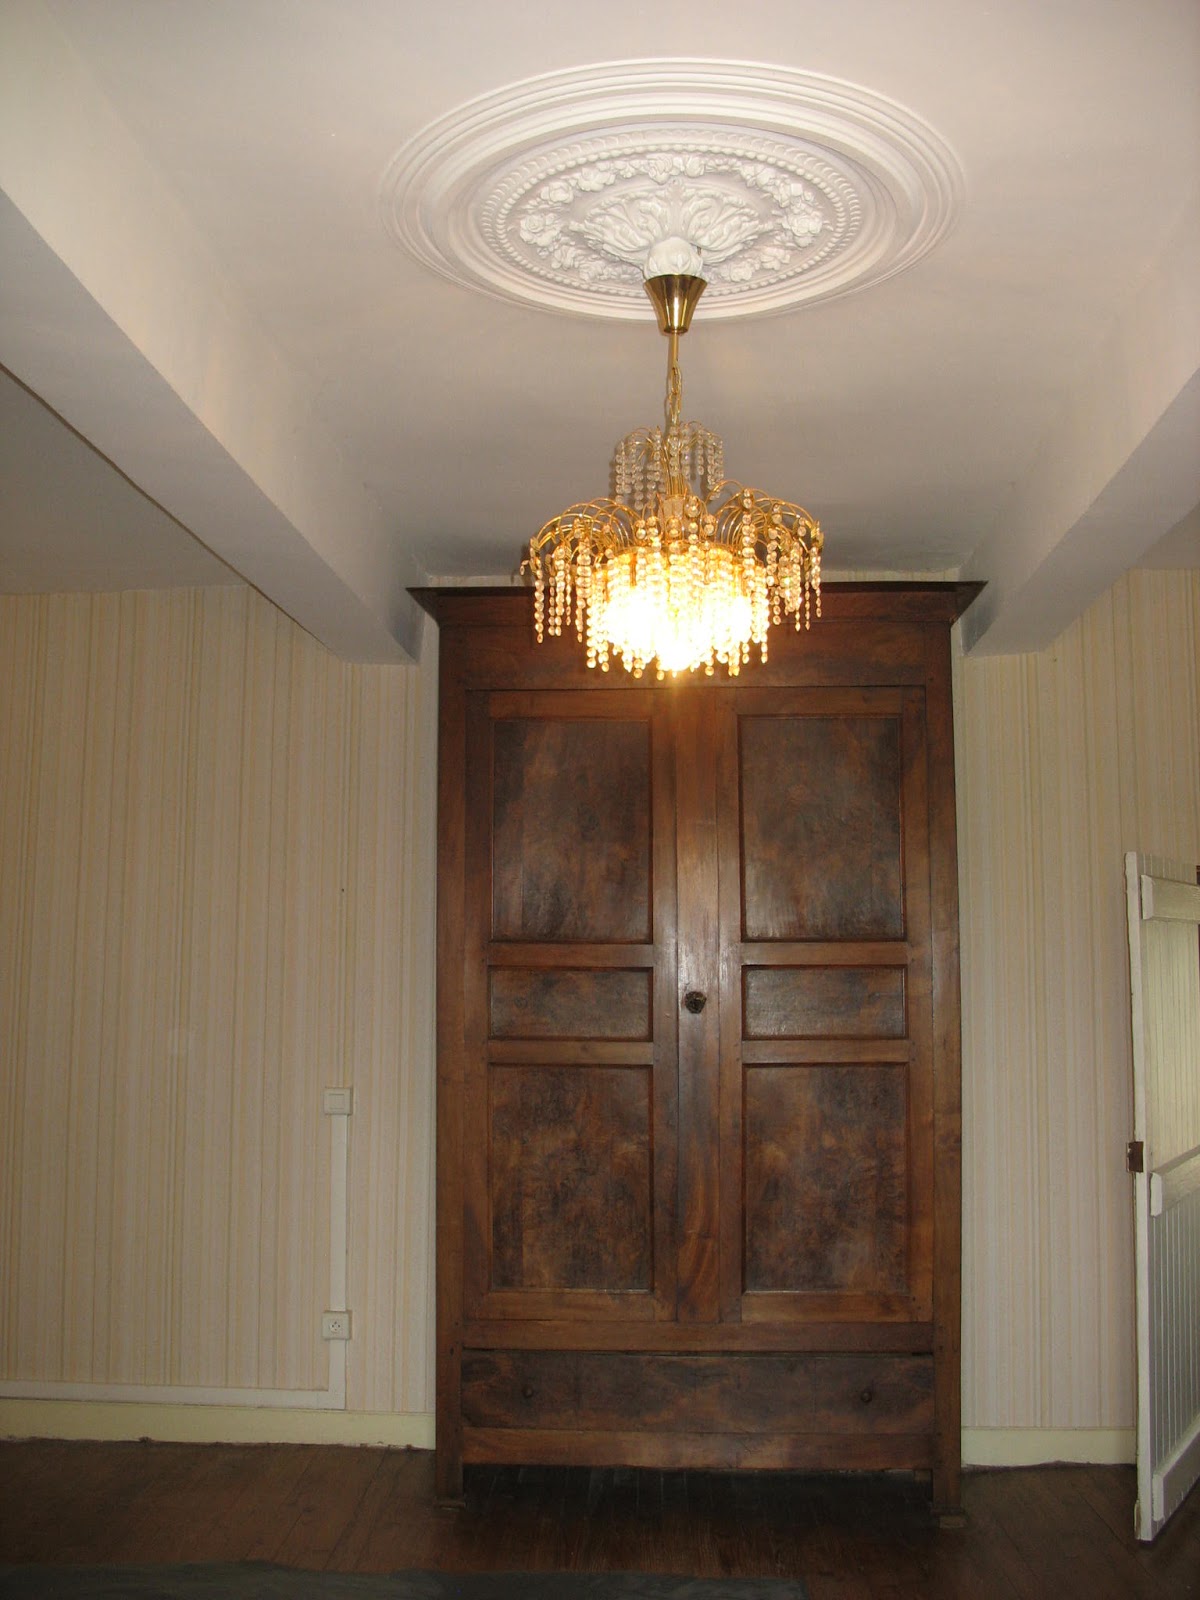
Moving all of the furniture out of the room was the first step of our plan. We quickly changed the plan when together we couldn't budge the armoire, even after emptying! Eventually, we walked the armoire inch by inch away from the wall giving ourselves a little room to work.
Both windows in this room have lovely views. The window below looks out over the kitchen garden toward the South-East. The window alcove is clearly handcrafted! Small rolling foothills in the distance were once grazing pastures for Montegut sheep.
Without the heavy drapes, sunlight floods the room. This window has 2 panels of 14 panels...

The window pictured below has 2 panels of 12 panels! You might have already noticed the window on the fireplace wall has a straight top, and this window facing the courtyard has a curved top. No one seems to know exactly why the two windows are different. All 5 windows on the front of the house have curved tops, as do the shutters.
To be consistently inconsistent... the number of panes in the front-facing windows is not all the same, either.
Below is the window overlooking the courtyard of the house. On clear days we get a glimpse of the majestic Pyrenees mountains. Snow-capped year-round, it is an exquisite view. The immediate view of the petite valley where Montegut presides is serene and the perfect stage to observe seasons' change.
Both windows needed several panes replaced, and the old glazing putty chipped out and replaced. This one new skill had quite a learning curve! After all the repairs to the windows were made, the frames needed sanding and at least two paint coats both inside and out.

Wallpaper removal was slow-going. Using a sponge to wet the paper was the only way it could be removed. Installation was long before wallpaper could be easily removed. Thankfully, there was only one wallpaper layer, although the thin paper was used as sizing in several areas.

Here is a short wall behind one of the entry doors. The paper was really glued down and, in some areas, pulled the plaster off with the wallpaper adhesive!

It would take a full day to remove the paper from each of the 4 walls.

Taped drop cloths protected the oak floor from the wet strips of wallpaper and excess water dripping from the sponge.


Here you can see an area with a large section of the sizing paper.
In the lower-left corner of this photo, you can see a dark horizontal stripe. It appears there were at least four different colors of paint used, perhaps as a decorative accent color, but no one will admit to the query.
All went well until it was time to check the stability of the plaster on the walls! Light tapping at the base of the wall proved to pinpoint another problem. Water damage from the long-ago leaky roof found it's way down to the base of the walls.
The only thing to do was chip away all the loose adobe and shore up the cement walls. The photo below is the bottom corner of the short wall at the doorway.

Several areas were quite deep, up to 6 inches at the corners and 8 or 9 inches high. Small stones and bits of broken tiles add structure to the deepest holes and resemble the original adobe composition. Proper repair required thin layers of cement with ample time to dry.

Clearly, this would be a major endeavor - the entire perimeter of the room had suffered water damage.
Before the cement work could begin, the adobe's surface had to be stabilized for the cement to adhere. We discovered a spray-on latex product to harden the adobe surface, enabling the cement to adhere. At this stage of repair, the tape was used as a visual reminder to ensure the new wall would be straight.

It only took 8 bags of cement (each was 50 lb) to complete the patching, oh, and about one full week of back-breaking work. Photos to follow in the next post.
And if you have, thanks for reading.
Au Revoir!
No comments:
Post a Comment